The Importance of Keeping Your Sneakers Clean
Keeping your sneaker cleaning kit is not just about aesthetics; it carries multiple benefits. For sneaker enthusiasts and casual wearers alike, clean footwear is a matter of hygiene, longevity, and value retention. First, dirt and bacteria can accumulate in the fabric and soles of your sneakers, leading to unpleasant odors and potential foot problems. Regular cleaning helps keep your feet healthy and your sneakers smelling fresh.
In addition, clean sneakers tend to last longer. Dirt and grime can degrade materials over time, wearing down your shoes faster than if they were well-maintained. By using a proper sneaker cleaning kit, you can extend the lifespan of your favorite pairs, saving money in the long run. Moreover, for sneaker collectors, cleanliness affects resell value. A spotless pair is more appealing and commands a higher price in the resale market.
Finally, it contributes to a positive impression. Whether you’re at a job interview, on a date, or simply walking around town, clean shoes make a statement about your attention to detail and self-care. They reflect a put-together image that can boost your confidence and how others perceive you. A reliable sneaker cleaning kit is an investment in keeping your shoes in top-notch condition, ensuring you step out with your best foot forward, every time.
Essential Tools for Sneaker Cleaning
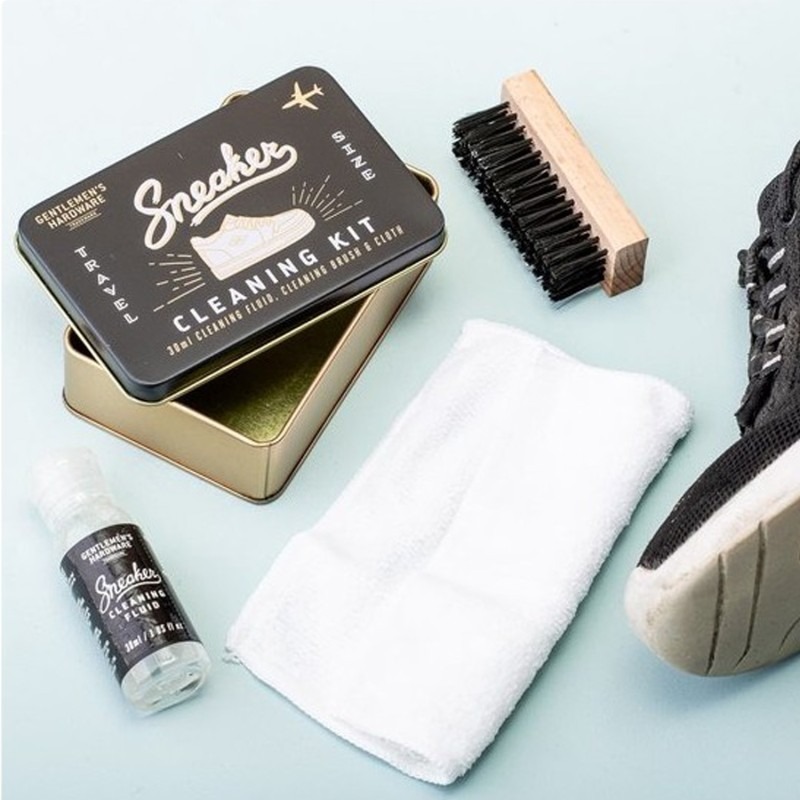
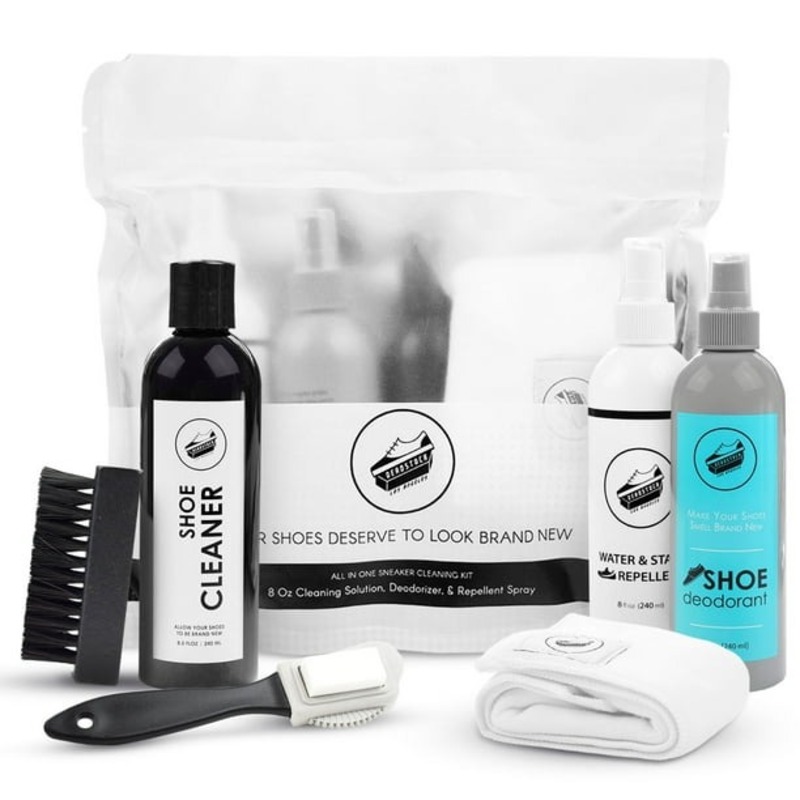
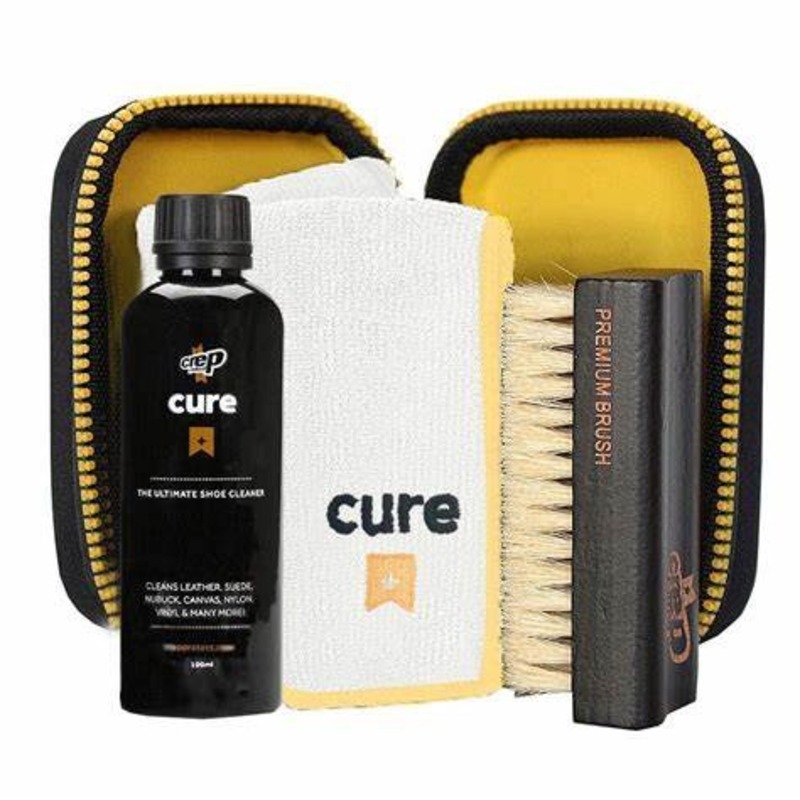
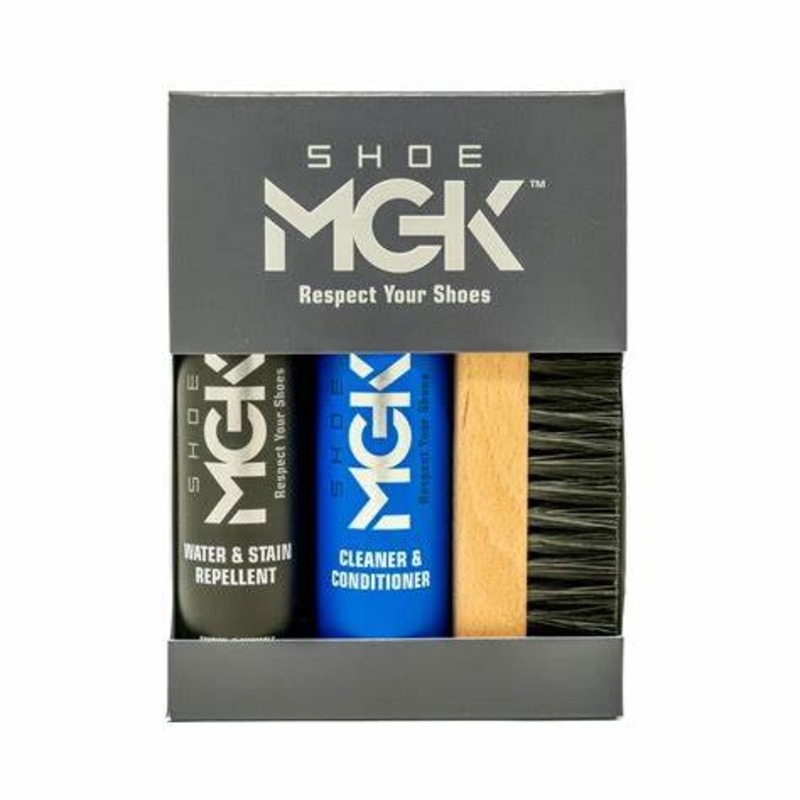
To keep your sneakers in pristine condition, a well-stocked sneaker cleaning kit is vital. Here’s what you need to make your kicks look fresh:
- Soft Bristle Brushes: A gentle brush for the upper part of the sneaker and a tougher one for the sole help to lift dirt without damaging the materials.
- Microfiber Cloths: These are perfect for wiping down sneakers after cleaning. Their high absorbency and softness prevent scratches on delicate surfaces.
- Shoe Cleaner Solution: A quality sneaker cleaning solution effectively breaks down dirt and stains. Choose one that’s suitable for a variety of materials.
- Waterproof Bowl or Container: For mixing cleaning solutions and dipping brushes, a small bowl or container is handy.
- A Shoe Tree or Foot Form: Keeping the shape of your sneakers while cleaning is crucial. A shoe tree can help maintain the form of your kicks.
- Sneaker Protector Spray: To finish, a protector spray can provide a barrier against future dirt and stains. It helps your cleaning efforts last longer.
With these tools at your disposal, maintaining your sneakers becomes an effortless task. Regular use of a sneaker cleaning kit with these essentials not only cleans your shoes but also prolongs their life, ensures hygiene, and maintains their aesthetic appeal.
The Best Sneaker Cleaning Solutions
When picking the best sneaker cleaning solutions, quality is key. You want a formula that works well with various sneaker materials. It should clear away stains and dirt yet keep the integrity of the sneaker fabric. There are multiple brands on the market, but not all are equal. Look for a sneaker cleaning solution that has positive reviews and repeat buyers. These tend to have proven effectiveness.
Biodegradable Solutions: Opt for eco-friendly cleaners. They keep your shoes and the planet safe. Bio-based active agents break down dirt and are gentle on your sneakers.
Multipurpose Cleaners: Good solutions work on leather, canvas, and synthetic materials. This makes them versatile and cost-effective.
No Harsh Chemicals: Choose formulas that do not have harsh chemicals. Sneakers are often made of sensitive materials. Harsh chemicals might harm them over time.
Fragrance or Fragrance-Free: Some prefer their cleaner to leave a fresh scent. Others might be sensitive to perfumes. Pick a solution that suits your preference.
When you select the right sneaker cleaning solution, your sneaker cleaning kit becomes more powerful. With the best cleaner at hand, you are prepared to tackle any dirt or stain. This ensures your sneakers always look their freshest and last for years. Remember to use the solution as directed and test it on a small area first. This will ensure it is safe for your specific sneaker type. Combine it with the other tools in your kit for the best results.
Step-by-Step Guide to Cleaning Your Sneakers
Cleaning sneakers can feel daunting, but it’s simple with the right steps. Follow this step-by-step guide using your sneaker cleaning kit:
- Remove Laces and Inserts: Take out shoelaces and any inserts or orthotics. You can clean these separately by soaking them in a mix of water and cleaning solution.
- Dry Brush Dirt Off: Before adding any water, brush off loose dirt from the surface and soles. Use the soft bristle brush for upper parts and a tougher brush for soles.
- Prepare Cleaning Mixture: In your waterproof bowl, mix a small amount of sneaker cleaning solution with water. Follow the instructions on the cleaner for the right ratio.
- Clean Uppers Gently: Dip a brush into the mixture and scrub the sneaker’s upper part in circular motions. Be gentle to avoid damage. Clean tough stains with careful attention.
- Scrub Soles Firmly: Use the tougher brush to clean the soles. Here, you can apply firmer pressure to remove stubborn dirt.
- Wipe and Rinse: With a microfiber cloth, wipe off the foam and lifted dirt from your sneakers. Rinse the cloth as needed to keep it clean.
- Air Dry Sneakers: Let your sneakers air dry at room temperature. Avoid direct sunlight or heat sources, as these can warp the shoes.
- Re-lace and Insert: Once dry, re-lace your sneakers and insert any footbeds or orthotics.
- Apply Protector Spray: Finally, spray your sneakers with a sneaker protector spray. This helps repel future stains and dirt.
By following this guide, you ensure your sneakers stay fresh. Regular cleanings with your sneaker cleaning kit will keep them looking and smelling great.
Tips for Maintaining Sneaker Freshness
To make sure your sneakers stay fresh longer, follow these tips along with your regular cleaning routine:
- Avoid Wearing in Bad Weather: Water and mud can ruin sneakers. Avoid wearing your favorite pairs on rainy or snowy days.
- Use Odor Eliminators: Store your sneakers with odor eliminator balls or sachets. This keeps them smelling good.
- Rotate Your Sneakers: Don’t wear the same pair every day. Rotating between different sneakers lets them air out and reduces wear and tear.
- Spot Clean Immediately: If you get a stain, spot clean it right away. Waiting can make it harder to remove.
- Keep Them Dry: Make sure your sneakers are dry before putting them away. Dampness can lead to bad odors and damage.
- Use the Right Protectant: Use a sneaker protectant spray that suits the material of your sneakers. It guards against stains and water.
By using these tips and your sneaker cleaning kit, your kicks will continue to look new and last longer. Always stay prepared to handle any scuffs or stains so your sneakers maintain their fresh appearance.
Sneaker Protection: Shields and Sprays
After cleaning your sneakers, protecting them is crucial. This prolongs their cleanliness and minimizes future cleaning efforts. Sneaker protection usually comes in two forms: shields and sprays.
Sneaker Shields: These are physical barriers attached inside the sneaker. They maintain the shoe’s shape and prevent creases, especially when stored or not in use. Shields are great for keeping the toe box area crisp.
Sneaker Protector Sprays: These products create an invisible barrier on the surface of your sneakers. They repel water, stains, and dirt. Apply the spray evenly over your clean sneakers and let them dry. For best results, reapply the spray every few weeks depending on wear frequency.
Choose a spray compatible with your sneaker material, whether leather, suede, or canvas. It should not alter the color or texture of your shoes. Always test on a small area before full application.
Using shields and protector sprays adds another layer of defense for your sneakers. They help your shoes stay fresh and in mint condition longer. Include them in your sneaker cleaning kit and use them as part of your regular sneaker maintenance regimen.
DIY Sneaker Cleaning Solutions
Sometimes, you might want to try a hand at making your own sneaker cleaning solutions. They can be effective and save you some money. Here are a few DIY mixes that can keep your kicks in great shape:
- Gentle Soap and Water: Mix mild dish soap with warm water. Use a soft brush to apply the mix to your sneakers. It lifts dirt and is safe for most materials.
- Baking Soda and Vinegar: Create a paste with baking soda and white vinegar. Use it to treat tough stains. Apply, scrub gently, then rinse.
- Hydrogen Peroxide and Baking Soda: Mix these for a powerful cleaning paste. It’s good for white sneakers to help them get back their brightness.
- Toothpaste: White toothpaste can remove scuffs from your sneakers. Just apply, scrub with a toothbrush, and wipe clean.
Remember to test any DIY solution on a small sneaker area first. Ensure it does not cause damage. These solutions can be great additions to your sneaker cleaning kit. They show that you don’t always need to buy commercial products for fresh kicks.
Storing Your Sneaker Cleaning Kit
After gathering your sneaker cleaning essentials, storing them properly is key. Here are the best practices for storing your sneaker cleaning kit to ensure longevity and readiness for your next clean:
- Designate a Storage Space: Assign a specific place in your home for your kit. This could be a shelf in your closet or a storage box.
- Keep It Dry: Avoid damp areas to prevent mold and mildew on your cleaning tools. Ensure everything is dry before putting it away.
- Organize the Tools: Use containers or bags to keep brushes, cloths, and solutions separate. This helps prevent cross-contamination.
- Protect the Solutions: Make sure the lids are tightly closed on your sneaker cleaners. Store them upright to avoid spills and keep them away from extreme temperatures.
- Easy Access: Place your kit where you can easily reach it. This encourages regular use and maintenance of your sneakers.
- Check Inventory Regularly: Occasionally, look through your kit to replace or refill items as needed. This ensures you’re always prepared.
Storing your sneaker cleaning kit efficiently makes maintenance quick and effortless. It also helps preserve the quality of your tools and solutions, saving you money over time. With proper storage, your sneaker cleaning kit will be ready whenever your kicks need freshening up.