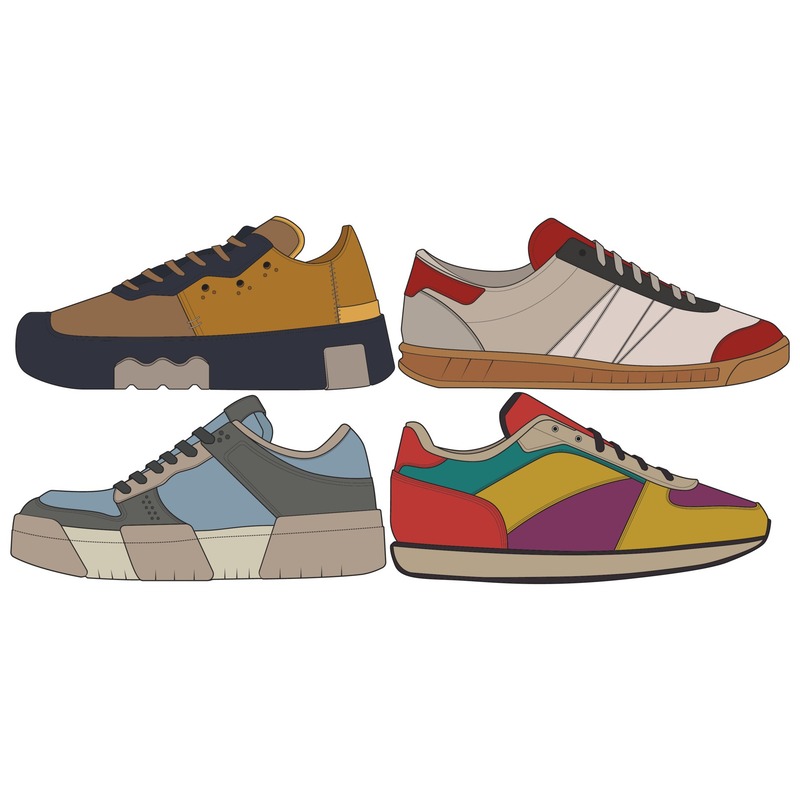
The Basics of Sneaker Anatomy
Before you start with your sneaker drawing, understanding the anatomy is key. Sneakers are more than just casual footwear; they consist of various parts that give shape, functionality and style. Here’s a breakdown of the essential components:
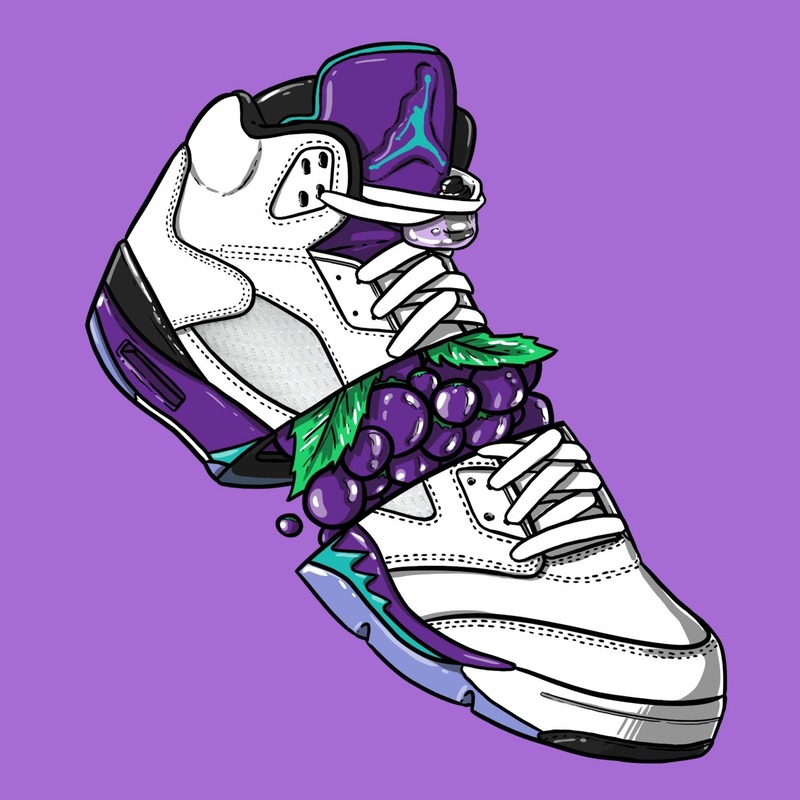
The Upper
The upper is the top part of the sneaker that covers the foot. It is often made of leather, suede, or synthetic materials. When drawing, pay attention to how it wraps around the foot and its different textures.
The Laces
Laces are crucial for the functionality and style of a sneaker. Draw them with care, showing their path through the eyelets and how they tie together.
The Tongue
The tongue is the separate piece under the laces. It’s usually padded for comfort. In your drawings, make sure it looks distinct from the other parts.
The Toe Box
The front of the sneaker, the toe box is often reinforced to protect the toes. It can have different shapes, influencing the sneaker’s overall look.
The Midsole
The midsole is between the upper and the outsole. It often contains cushioning technology. When you draw the midsole, indicate its thickness and any textures.
The Outsole
The outsole touches the ground and is usually made of rubber. Include the tread pattern in your sneaker drawing for realism.
Familiarizing yourself with these parts and their functions will make your sneaker drawing more accurate and detailed. Remember to use clear lines and shapes to define each part, and refer back to real sneaker models for guidance as needed. Sneaker anatomy might seem complex at first, but with practice, it’s something every artist can master.
Choosing the Right Materials and Tools
To create stunning sneaker drawings, select the proper materials and tools. Quality pencils are vital. Choose a range from soft (B series) for dark shades to hard (H series) for light lines. Soft pencils help in dark shading, while harder ones give precision.
For inking, fine liners enhance the sneaker’s outline. They produce smooth, consistent lines. Use various thicknesses for depth. Brush pens can add dynamic, thick lines for a bold effect.
Erasers are also essential. A kneaded eraser lifts graphite without damaging the paper, perfect for subtle adjustments. A plastic eraser, on the other hand, removes more substantial marks.
Sketchbooks or heavyweight paper can withstand repeated erasing and layering. Use paper suited for your chosen medium. For color applications, consider markers or colored pencils designed for blending and layering to create the sneaker’s hues.
As you gather your tools, remember to maintain a clean workspace. Keep sharpeners and erasers at hand to keep your workflow uninterrupted. Good quality materials aid in producing detailed and realistic sneaker drawings. Arrange your tools where you can reach them quickly. This setup helps you to focus on the art, not on searching for materials.
In summary, the right materials and tools impact the overall quality of sneaker drawing. Invest in the best you can afford and ensure they suit your style and technique.
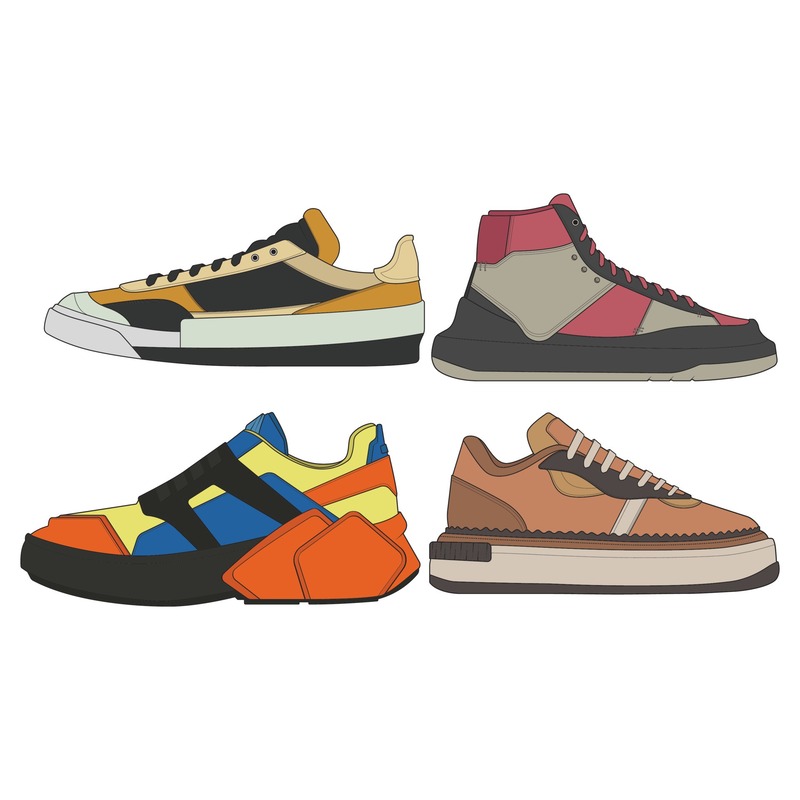
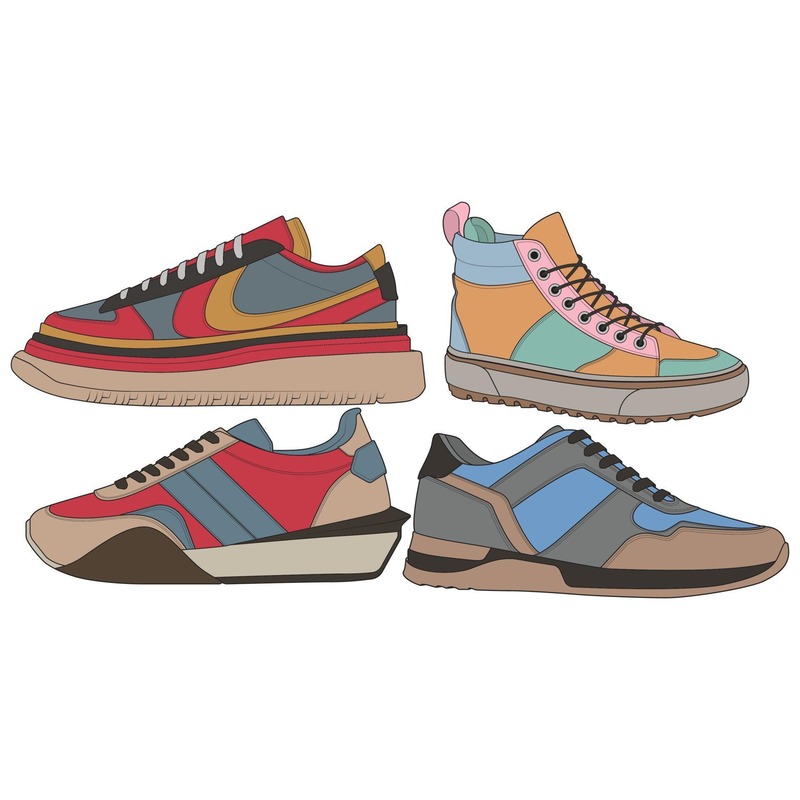
Drawing Sneakers from Different Angles
Drawing sneakers from various angles adds depth and realism to your work. Start with a basic side view. This angle allows you to capture the profile and general shape of the sneaker. Focus on how the different parts like the upper, laces, and sole come together. Keep your lines clean and observe the proportions.
Next, try a front or back angle. These perspectives show the toe box and heel counter prominently. Notice the curvature where the sole meets the ground. The details of the tread on the outsole are also visible from these viewpoints. Use light lines to get the shape right, then define with darker ones.
An overhead view is challenging but rewarding. This perspective highlights the sneaker’s opening and the tongue. It also offers a clear view of the lacing pattern. Make sure to depict the width of the sneaker and keep symmetry in check.
For the three-quarters view, combine elements from the side and overhead angles. This dynamic angle reveals the volume of the sneaker. It allows you to present the curves and contours. Watch the direction of light as it will affect how shadows and highlights appear on the sneaker’s surface.
To improve, practice drawing the same sneaker from different angles. This will help you understand its 3D form. As always, refer back to real sneaker models and remember to use sneaker drawing keywords effectively throughout your process.
Mastering the Details: Laces, Soles, and Textures
To excel in sneaker drawing, focus on the small details can make a big difference. Let’s focus on laces, soles, and textures step by step.
Laces
When drawing laces, show how they loop and crisscross. Pay attention to the way they hang and the small shadows they cast. Use soft pencils for a realistic look. Variation in pressure can suggest the laces’ material. Remember, the laces often reflect the sneaker’s style, so make them stand out.
Soles
The sole is key for a sneaker’s realism. Start with the tread pattern. It can be complex, so look closely at the design. Draw the sole’s profile with care, as it affects the sneaker’s overall shape. Use hard pencils for clear edges and lines.
Textures
Many sneakers have varied textures. They can be smooth, woven, or have patterns. Observe these closely and replicate them on paper. Use shading techniques to create texture. A mix of hatching and cross-hatching works well for this. Adjust the pressure of your pencils to match the texture’s look and feel.
Each detail in your sneaker drawing adds depth and realism. Practice these elements separately, then bring them together in your artwork. With time, your drawings will have a life-like quality that impresses.
Incorporating Color and Shading Techniques
To bring your sneaker drawing to life, master color and shading. First, decide on your color scheme. It could reflect reality or be entirely from your imagination. Consider the sneaker’s purpose and style when choosing colors. For sports shoes, bright and vibrant tones can suggest energy and motion. Casual sneakers might use subtler, more neutral shades.
Choosing the Right Colors
Select colors that match the sneaker’s design and mood. Use a color wheel as a guide to combining shades harmoniously. Always start with lighter tones, then layer darker ones. This method helps avoid over-saturating your drawing with heavy pigments.
Layering and Blending
Layer colors carefully to create depth. Use a light hand and build up the color gradually. Blending tools, like blending stumps or your finger, soften transitions between shades. They can merge colors smoothly on your paper.
Shading for Dimension
Shading adds three-dimensionality to your work. Observe where light falls on the sneaker and where shadows form. Apply shading to show these contrasts. Lighter areas indicate surfaces facing the light. Darker areas signify shadows. Use this technique to highlight the sneaker’s contours and textures.
Highlights for Realism
Add highlights with a white pencil or eraser to show light reflecting off the sneaker. Focus on the upper, toe box, and other protruding parts. These small touches can make a sneaker drawing pop.
With these color and shading tips in mind, your sneaker drawings will have more impact. They’ll look more vibrant and realistic. Keep practicing and experimenting with different techniques to find what works best for your style. Remember, slight variations in shading and texture can significantly enhance the overall effect of your sneaker drawing.
Drawing Sneakers in Motion
Capturing the dynamism of sneakers in motion adds excitement to your sneaker drawings. When sneakers are depicted in action, like running or jumping, it brings a new level of realism to the artwork. To achieve this, focus on the following steps.
Show the Sneaker’s Interaction with the Environment
Keep in mind how sneakers interact with surfaces. They might compress on impact or kick up dust. Show these effects to convey motion.
Use Dynamic Lines
Create energy in your sneaker drawing with forceful, flowing lines. These suggest speed and direction.
Consider the Foot’s Anatomy
Remember, a foot in motion affects the sneaker’s shape. The flexion or extension of the foot will change how you draw the sneaker.
Create Motion Blurs
For parts of the sneaker moving fast, like the heel or toe, use soft shading or slightly blurred lines. This mimics motion blur seen in photographs.
Adjust the Laces
When in motion, laces don’t lay flat. They can appear to float or be swept back. Capture this detail for added realism.
Study Reference Images
Look at photos of sneakers in use. These provide accurate examples of how they bend, twist, and move.
By paying attention to these elements, your sneaker drawings in motion will look more dynamic and real. The key is to suggest movement in a still image. Practice with these tips to refine your technique.
Creating Your Own Sneaker Designs
When you’re ready to move beyond imitation, creating your own sneaker designs is an exciting step. Here’s how you can start designing unique sneakers:
Brainstorming Ideas
Begin by brainstorming. Think about the type of sneakers you want to create. Consider their use, like sports or fashion. Jot down ideas and sketches, no matter how outlandish they may seem.
Drawing a Rough Sketch
Start with a basic outline. Capture the silhouette of your sneaker design on paper. Don’t worry about details yet, focus on form and structure.
Adding Unique Features
Now, add in special features. This could be a unique lacing system or an innovative sole design. Think about what sets your sneaker apart.
Refining Your Design
Review your sketch. Make changes where needed. Streamline your design for comfort and style. Keep refining until you’re satisfied.
Choosing a Color Palette
Select a color scheme that suits your sneaker’s purpose. Bold colors for sporty designs, muted tones for casual wear. Apply your chosen palette to your sketch.
Finalizing the Details
Add in the fine details like texture and branding. Use your skills from the previous sections on details and shading to make your design stand out.
Remember, practice is key to improving your sneaker drawing and design skills. As you create, consider each sneaker drawing keyword. This helps ensure that each design is both appealing and functional. Your unique creations could be the next big trend in sneaker fashion!
Tips for Fine-Tuning and Finishing Touches
Perfecting your sneaker drawing is all about attention to detail. After you’ve mastered the anatomy, materials, angles, and color shading, it’s time to add those final touches that make your drawing stand out. Here are some practical tips:
- Review Your Work: Look over your drawing with fresh eyes, preferably after a short break. This helps you spot areas that might need improvement.
- Adjust Proportions: If something looks off, don’t hesitate to tweak it. Correct proportions are critical for a realistic appearance.
- Enhance Contrast: Make the darkest parts of your drawing a bit darker, and the lightest parts lighter. Higher contrast adds depth to your drawing.
- Refine Textures: Go back and add subtle textures that you may have missed. This could be the fine lines in the leather or the pattern on the laces.
- Clean Up Lines: Erase any unnecessary lines that could make your drawing look cluttered. Clear, defined lines are key for a polished look.
- Sign Your Work: Don’t forget to sign your drawing. This marks it as yours and adds a professional touch.
Remember, practice is key. The more you draw, the better you’ll get at these finishing techniques. Keep using the sneaker drawing keywords throughout your work to maintain focus on the essential elements. With each sneaker drawing, aim for clarity, realism, and your unique artistic style.